How to Caramelize White Chocolate & Make Dulce Spread


White chocolate is the most problematic of them all. Simply because it doesn’t contain cocoa solids. But that doesn’t mean it’s not chocolate. It contains enough cocoa butter to be respected and considered as chocolate. However, from the moment I tried caramelized chocolate, I realized it would be hard to go back to just “plain” old white chocolate.
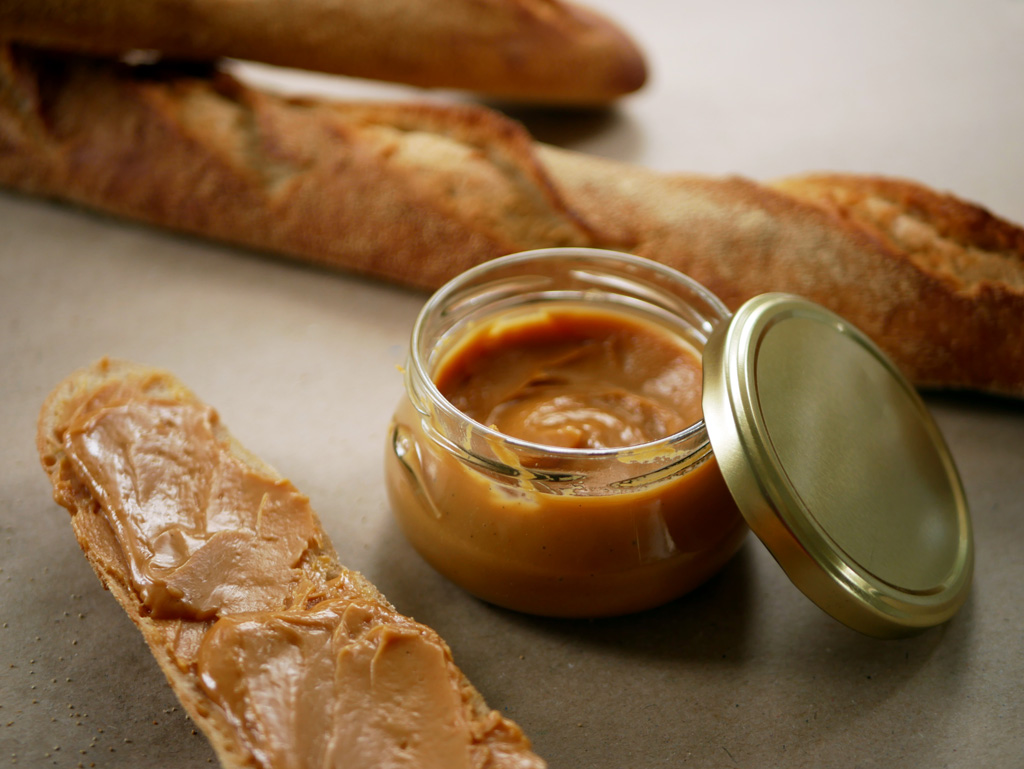
It turns out it’s not that complicated to caramelize white chocolate. All you have to do is stick it in the oven and every 5-10 minutes take it out, mix it, flatten it, put it back in the oven and so on until the chocolate is caramelized. From here, you can just eat it as is or invest a little bit more and make alfajores tartlets or a dulce chocolate spread that I adapted from Christophe Adam’s recipe. (See recipe at the bottom of the page).
After I caramelized more than 1 kg of white chocolate, I learned a few important tips about caramelization and how to obtain a smoother, more uniform product:
The higher the amount of cocoa butter, the less the chocolate will harden during the caramelization process and the less grainy the final texture will become. It’s advised to work with at least 32% cocoa butter. However, chocolate gets more expensive with each additional percentage. I used Lubeca white chocolate callets with 29% cocoa butter.
Caramelization
Caramelization can also work with any regular white chocolate, but the texture might not be as smooth. In addition, it might take longer to do it. In my case, it took about an hour and a half until I was satisfied with the result. But it’s surely possible.
For better caramelization, you may add 2% cocoa butter of the total amount of chocolate. (for instance, if you have 100 g chocolate, add 2 g cocoa butter). Before baking, spread the cocoa butter with the chocolate on a baking tray and start the caramelization process. This way, the chocolate gets caramelized easier, the final texture is smoother, the color deeper and the work much simpler (mix every 10 minutes instead of every 5 minutes). You can see the results in the last two images of the caramelization.
After the caramelized chocolate hardens, cocoa butter stripes may appear on it. It’s not that awful, the chocolate is just as tasty. If in any case you would like to avoid that, temper the chocolate the same way you would temper white chocolate.

Caramelizing White Chocolate
Preheat the oven to 130 °C / 265 °F. Spread the chocolate in an even layer on a clean and dry baking tray. Place the tray in the oven.
After 3 minutes of baking, the chocolate is supposed to reach its melting point. Using a spatula, carefully flatten the melted chocolate on the tray without removing it from the oven. The chocolate will flatten immediately.
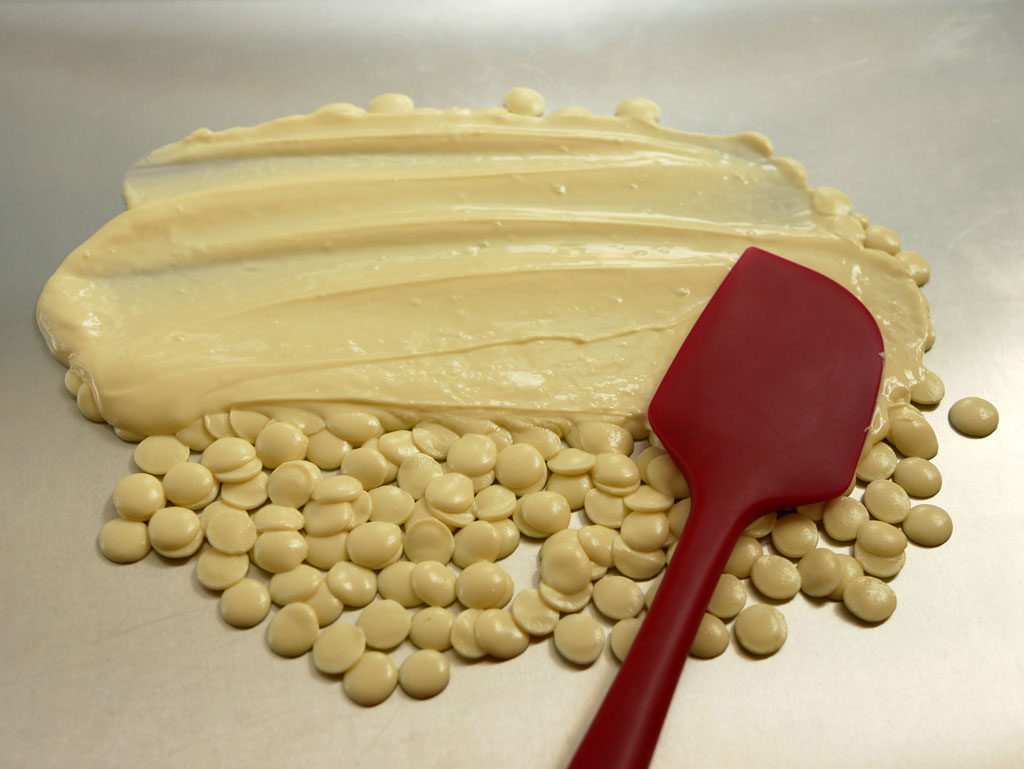
5 minutes later, remove the tray from the oven. The chocolate will start to harden. Using a spatula, mix the chocolate until the texture is smooth and supple. Flatten the chocolate to a uniform layer and put it back in the oven.
5 minutes later, remove the tray from the oven again. The chocolate will harden even more. Using a spatula, mix the chocolate again and squash any chunks on the hot tray until they soften. The chocolate will soften again. Flatten it again to a uniform layer and put it back in the oven.

5 minutes later, yup, you guessed it right, remove the tray from the oven and repeat the process, again and again, until the chocolate caramelize and changes its color to a color that resembles peanut butter.
During baking the chocolate will soften more and more, so the task of mixing and squashing the chocolate becomes much easier. The whole process should take about 50 minutes, or even more, if you want the chocolate to be extra caramelized. Just be careful not to burn it.

Once you got caramelized white chocolate, you may use it immediately… or… temper it as you would temper white chocolate… or… keep in an airtight plastic container.
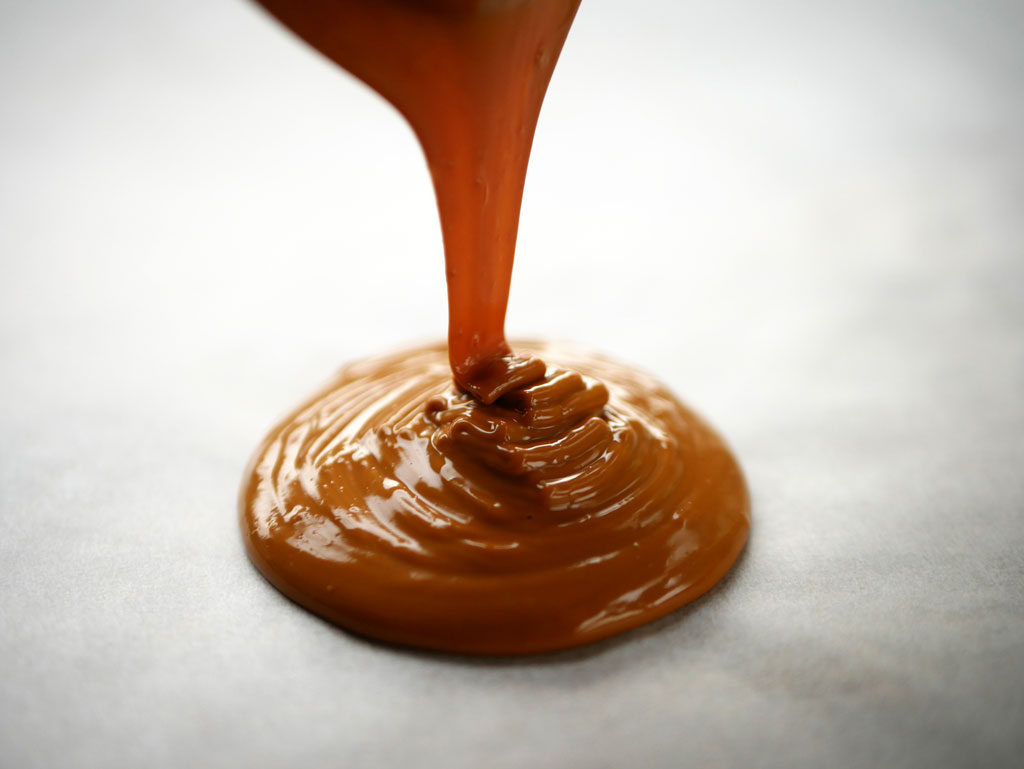
Dulce Chocolate Spread
70 g heavy cream
70 g condensed milk
1 tsp vanilla paste
20 g invert sugar
270 g caramelized white chocolate
Break the chocolate into small pieces and put them in a measuring pitcher. Add the invert sugar to the pitcher as well. Put heavy cream, condensed milk and vanilla paste in a saucepan and mix. Bring it to a boil. Pour immediately over chocolate, making sure all the chocolate is covered.
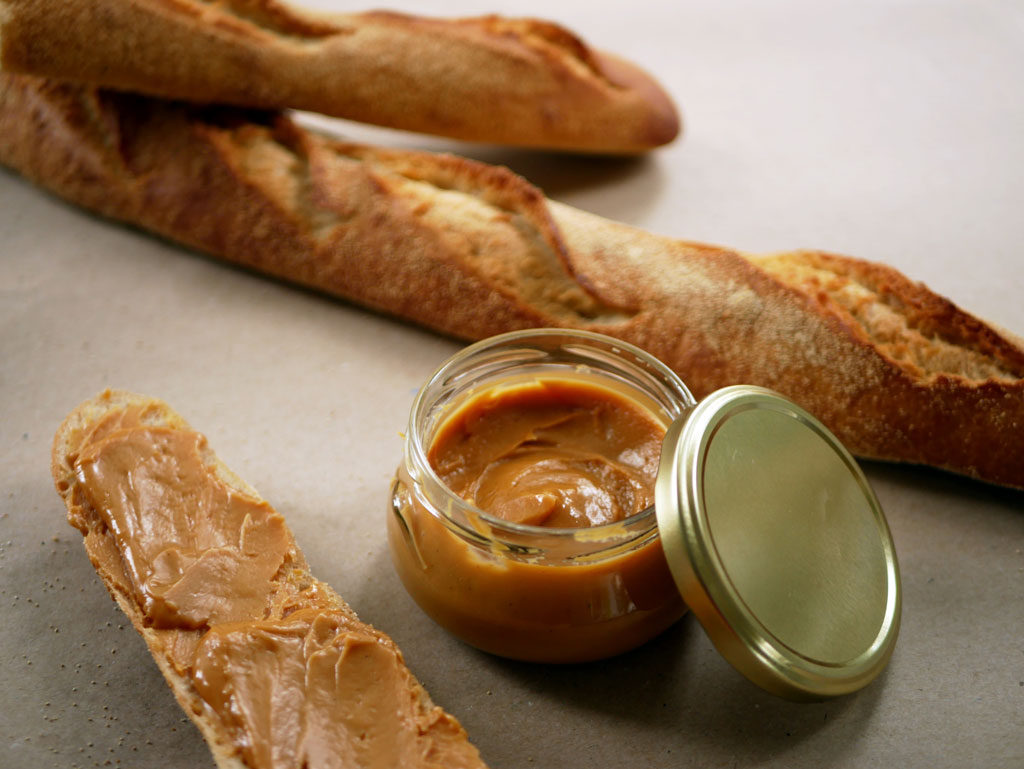
Mix a little bit with a spatula and then use a hand blender to blend it to a uniform consistency. Pour the mixture into a glass jar. It keeps for a few days at room temperature or one to two weeks in the fridge. Before eating, soften it for about 15 seconds in the microwave.
My recommendation: spread a generous layer on a fresh baguette and sprinkle a bit of coarse sea salt to break the sweetness and deepen the flavor. Mmmm…
Related Posts
Leave a reply:Cancel reply

Search the blog
![]()
Get updates by email
![]()
