
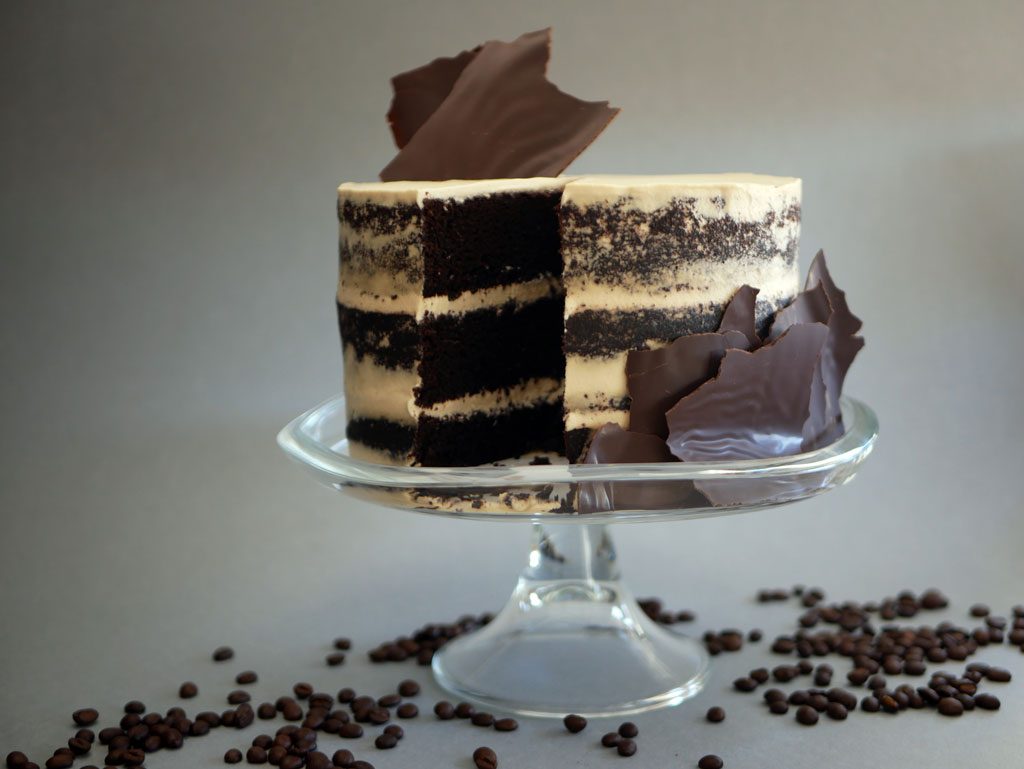
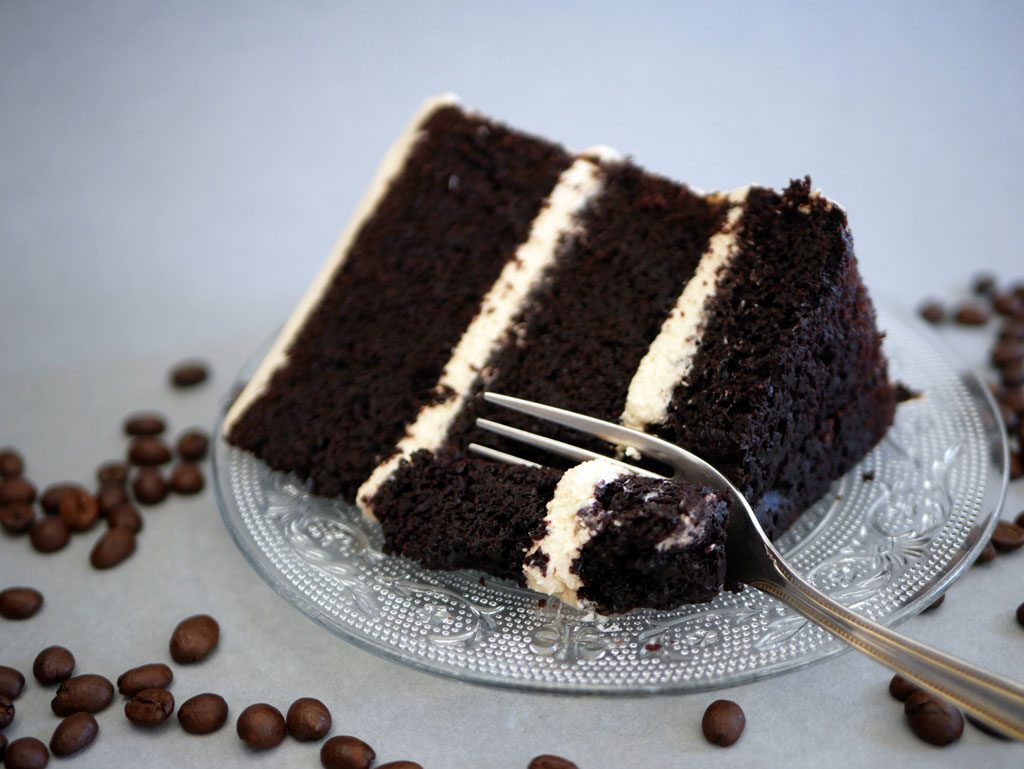
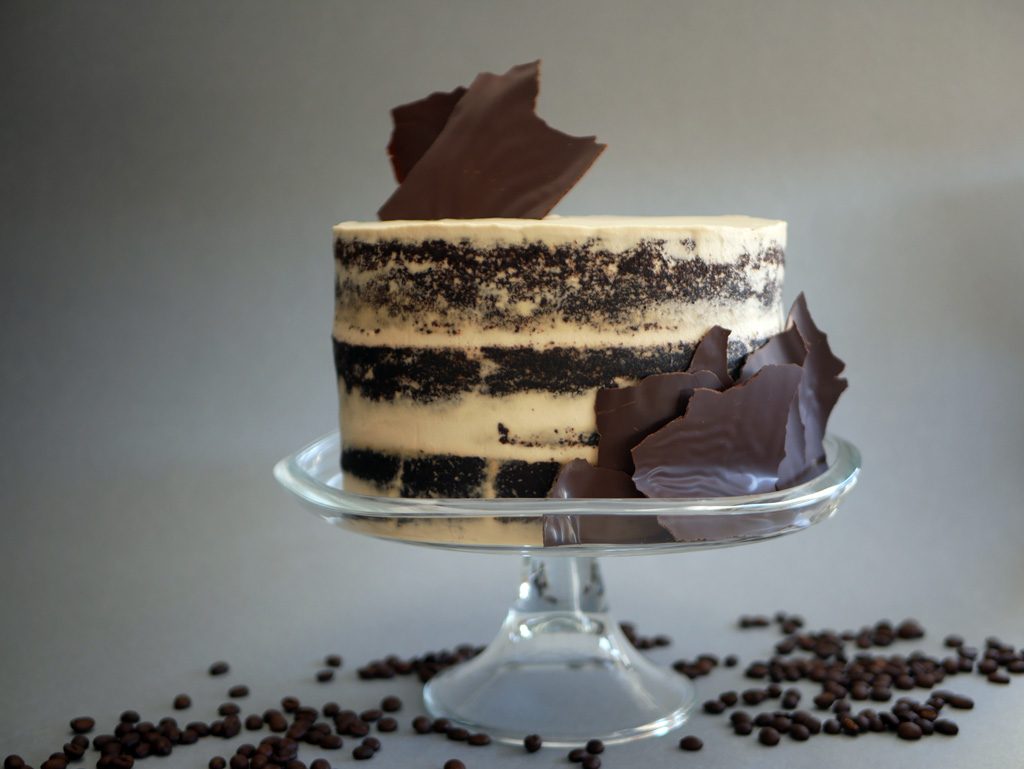
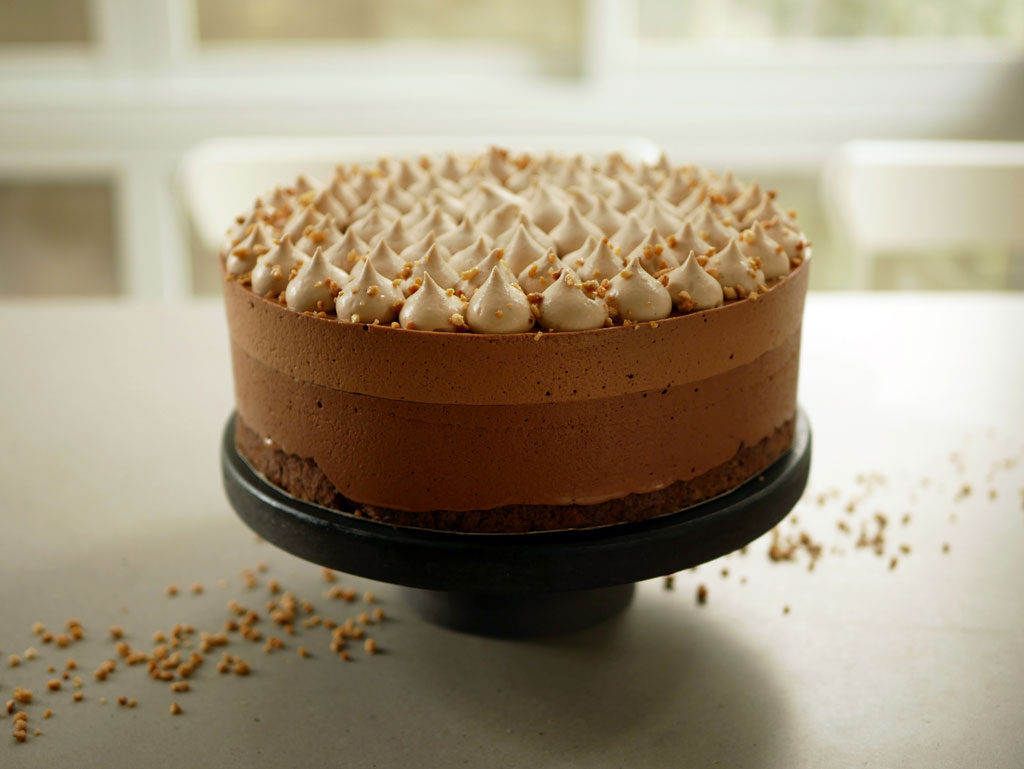
Chocolate Cake with Mascarpone and Coffee Chantilly
Mom’s Google’s chocolate cake!
My love for baking started with fondant and decorating cakes. To be able to do that, I had to learn how to bake properly. I wanted the cake to taste as good inside as it looked outside. The first thing I did was run to my mom and ask about the secrets to her chocolate cake, which always comes out so heavenly and delicious.. a classic “mom’s chocolate cake”.
Unfortunately, my mom doesn’t keep recipes. She cooks and bakes from the heart, inspired by her mood and what she finds in the cupboard kitchen at that moment. I tried to watch her and follow her steps to create a recipe. Sadly, I realized this would not work for me. Each time the ingredients and their quantities changed according to how she felt that day. And each time, somehow, it came out even tastier than before.
Unlike my mom, I live by measurements and accuracy. So I decided to look for a recipe elsewhere. I tried some potential recipes here and there but they still weren’t the “best”. In the end I asked Google for a “chocolate cake”. The first search result led me to a blog named “Add a pinch” and a chocolate cake that was described as “the best ever” (They got my full attention here). The recipe is simple yet the cake turns out so rich and tasty. It surprised me that such a quick and easy search on Google can lead me to what my heart desires.
…
The original recipe is fairly simple. You basically mix everything together and put it straight in the oven. I noticed that the batter is not properly mixed that way. So I added some steps to ensure that the batter would turn out more uniform, which in turn would lead to a higher, more stable cake, with an airy texture.
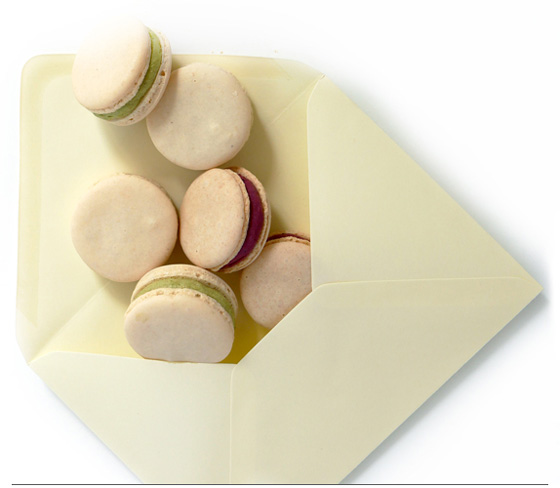
The cake is coated and layered with mascarpone and coffee cream. I have a feeling that this cream would go great in macarons (soon to be tested!). Actually, there’s no need for cake or macarons. You can just eat the cream with a spoon (that’s what I did eventually).
The recipe makes one cake, 20 cm wide and about 15 cm high. It is recommended to divide the batter in two and bake in two pans, 20 cm wide and 10 cm high each. (If baked in one pan only, divide the recipe into 2)


Ingredients
Chocolate Cake
4 cups (560 g) flour
1.5 cups (160 g) cocoa powder
4 tsp (12 g) baking powder
3 tsp (12 g) baking soda
4 cups (880 g) sugar
2 tsp (10 g) salt
4 eggs (200 g)
1 cup (200 g) canola oil
2 cups (450 g) milk
3 tsp vanilla extract
2 cups (400 g) boiling water
2 tsp (2 g) instant coffee
Mascarpone and coffee chantilly
250 g heavy cream
2 g (1.5 tsp) instant coffee in granules
250 g mascarpone cheese
60 g powdered sugar
Chocolate decoration (optional)
200 g dark chocolate
Equipment
2 baking pans, 20 cm wide and 10 cm high *
Cake scraper
Spreading spatula
Thermometer (for chocolate decoration)
Acetate sheet (for chocolate decoration)
* If there’s only one cake pan, divide the chocolate cake recipe in half and bake twice.
Chocolate Cake
Lightly grease pans with oil. Line pans with parchment paper by cutting two circles, 20 cm in diameter each for the bottom, and a rectangle to fit the sides of the pans.
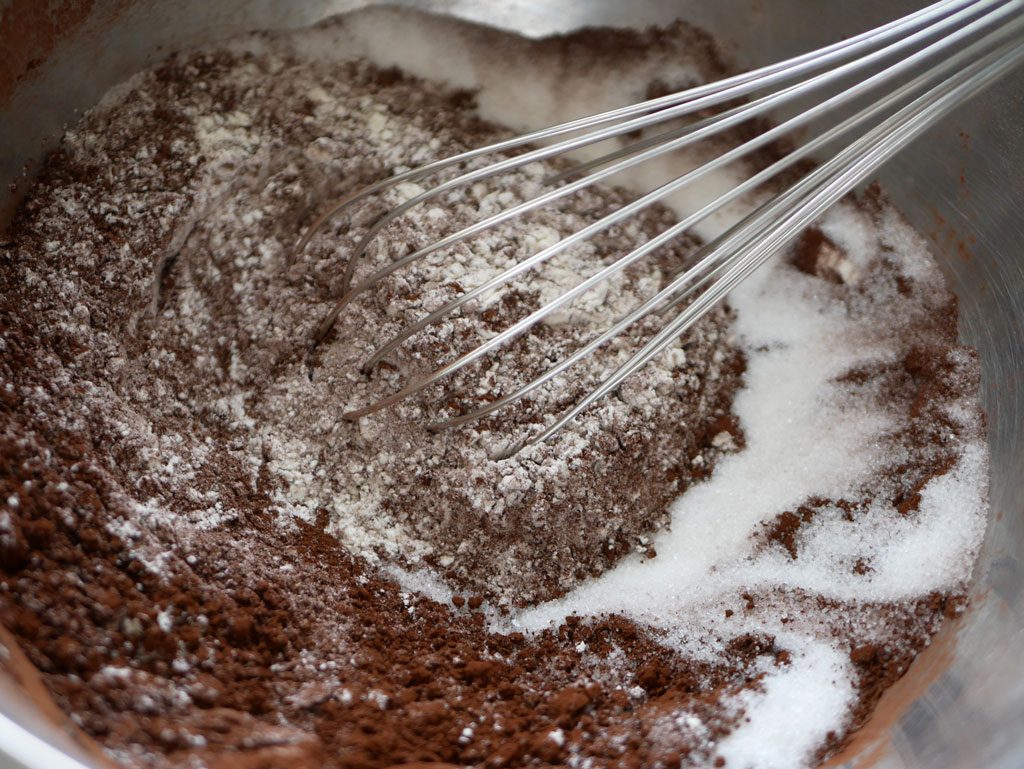
Sift flour, cocoa powder, baking powder and baking soda into a bowl. Add sugar and salt. Mix until uniform. Set aside.
Preheat oven to 175º C (350º F). Whip the eggs on medium speed until you get a foamy texture. Add canola oil and vanilla extract and mix until uniform. Bring water to a boil.
Add a third of the powder mixture to the egg batter and mix until uniform. Please note (!) Once the flour is combined in the batter, do not over mix. Pour half of the milk and mix again. Add another third of the powders and mix. Pour the rest of the milk and mix. Finally, add the rest of the powders and mix until the batter is uniform.
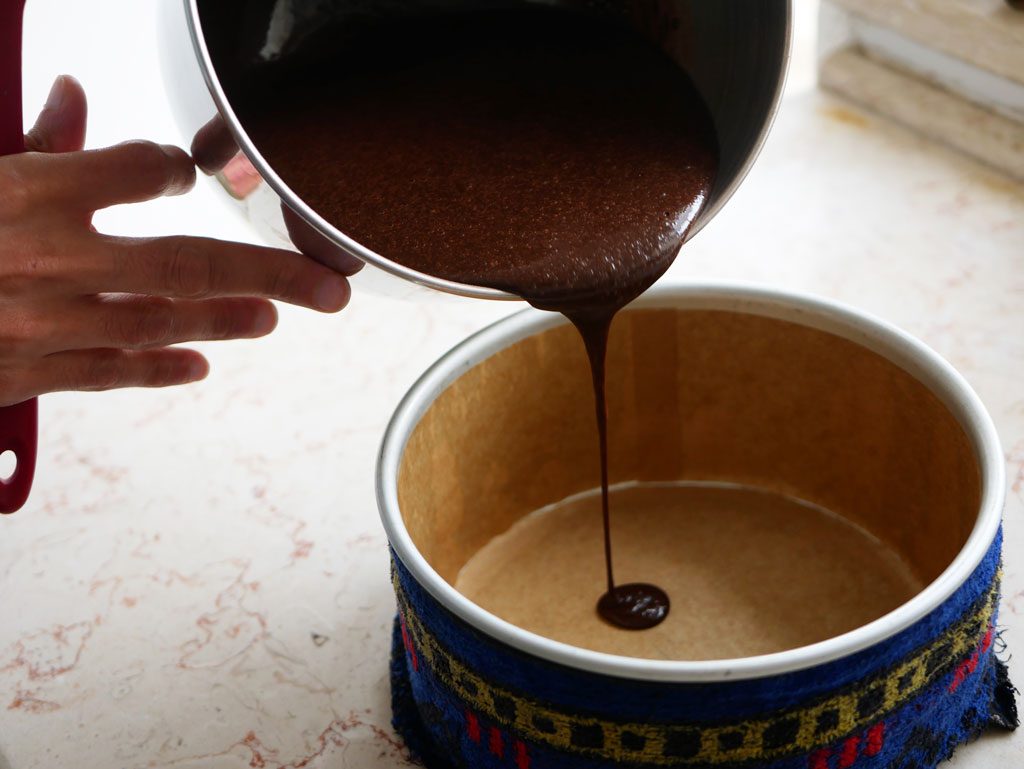
Add instant coffee to the boiling water. Mix well and add carefully to the batter. Mix again until uniform.Pour the batter evenly into both pans. If possible, wrap a strip of a damp towel around the baking pan to get a more uniform bake.
Put the two pans in an oven preheated to 175º C (350º F) and bake for 50-60 minutes. Stick a toothpick in the center of the cake to check if it’s ready. The toothpick should come out almost dry, with just a bit of crumbs.
Remove pans from the oven and keep the cakes at room temperature for 10-15 minutes before releasing from the pans.
How to release the cake:
Place a parchment paper on top of the pan and then a cutting board on top of it. Flip it all over and lift the pan to release the cake. Place a second board on the cake and flip again. Remove the top board. Let the cake cool completely at room temperature and then keep in the fridge until ready to cut. (The cake can be kept in the fridge for about a week or in the freezer for about a month)
Cut each cake twice to a height of 3 cm with a large serrated knife or a saw. You should get two 3 cm-high layers from each cake (4 layers in total). To get a straight clean cut, keep turning the cake and cut first from the sides then slowly advance to the center of the cake. Remove the parchment paper from the bottom of the cakes. Cover each layer in plastic wrap. Keep in the fridge until use.
Mascarpone and coffee chantilly
The goal here is to make the heavy cream taste like coffee before whipping it. This can be done in two ways:
Cold infusion: Put heavy cream in a bowl. Add coffee and mix a little. Cover with plastic wrap and keep in the fridge for a night (about 12 hours). Mix well before use.
Hot infusion: Put 1/4 of the heavy cream in a small pot and add coffee to it. Heat on medium heat while stirring just until all coffee granules are dissolved. Transfer to a bowl and add the rest of the heavy cream. Mix well and keep in the fridge for at least two hours to let it cool before whipping.
Put mascarpone cheese in a mixing bowl and whip until the cheese softens slightly. Remove heavy cream from the fridge and add to the mascarpone cheese gradually while whipping all along (each time make sure that the mixture is uniform before adding more cream). Add powdered sugar gradually while whipping at low speed. When done adding sugar, increase the mixer speed to medium and whip until the cream is stable (be careful not to over-whip, otherwise the cream will separate). Use immediately or keep in the fridge .
Putting it all together!
Take a serving plate and spread a bit of cream in the center to attach the cake to it. Set the 1st cake layer on it. Put some cream on top of the cake and spread it with a frosting spatula to make an even layer about 1 cm thick. Set the 2nd cake layer on top. Spread another layer of cream, then set the 3rd cake layer. Spread another layer of cream, then set the 4th cake layer. Finally, spread a thin layer of cream on top.
Naked cake effect: Take a look at the sides of the cake. You will notice that they’re not straight and that they got dents all around. Fill those dents generously with cream. Use a wide spatula to remove all the excess cream. To do so, press the spatula on the side of the cake while turning the cake around, leaving it with a smooth layer of cream in the dents. Repeat the process until the sides of the cake are almost straight.
Keep in the fridge up to a week.
Chocolate decoration
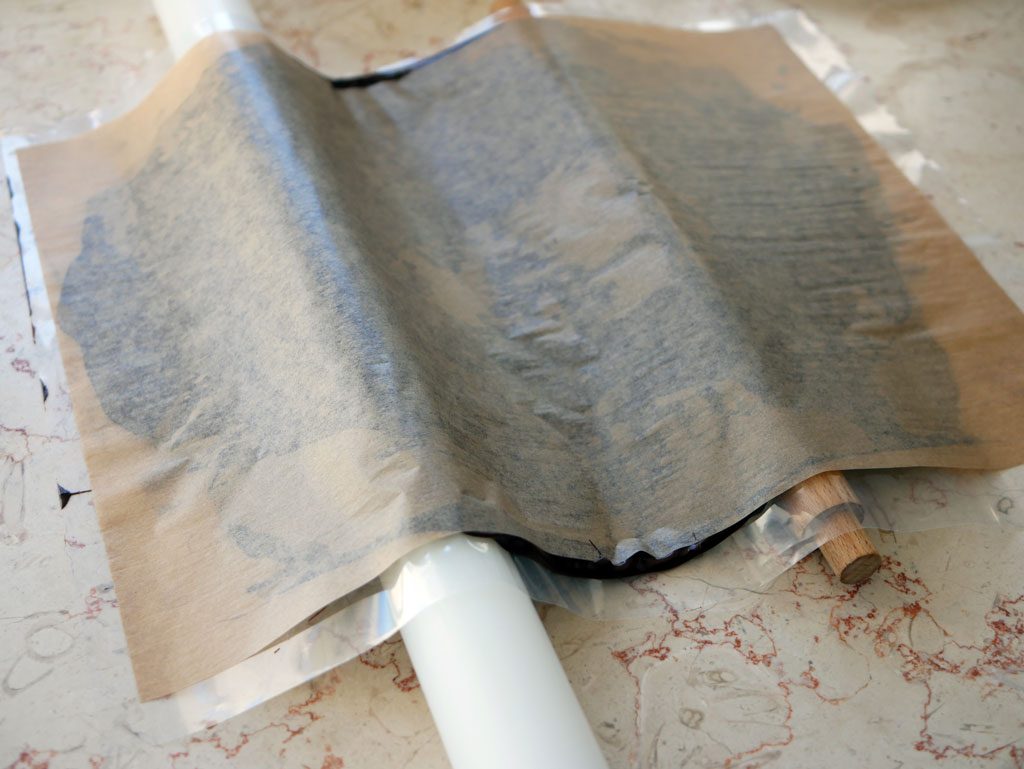
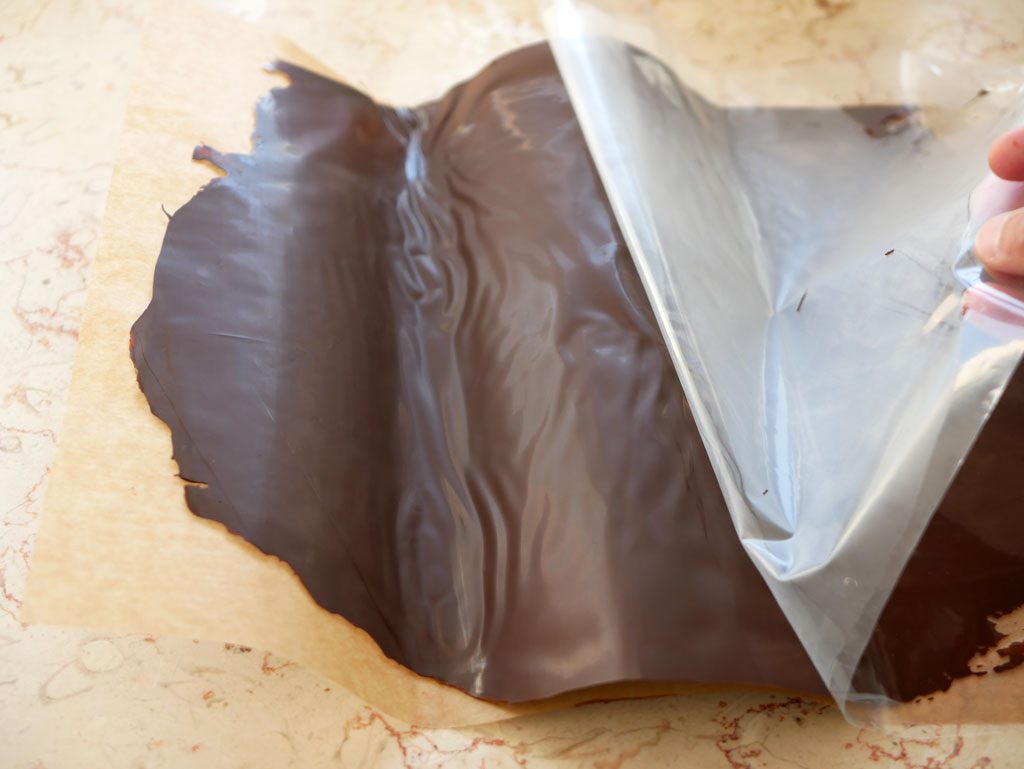

Temper chocolate. Once the chocolate is tempered, pour it to the center of an acetate sheet. Place a parchment paper on top (or another acetate sheet if you want both sides of the chocolate to be shiny) and flatten with a rolling pin to get a thin and uniform layer.
Lift the sheets with the chocolate and place on top of a rolling pin or two to let the chocolate set and get a bended shape.
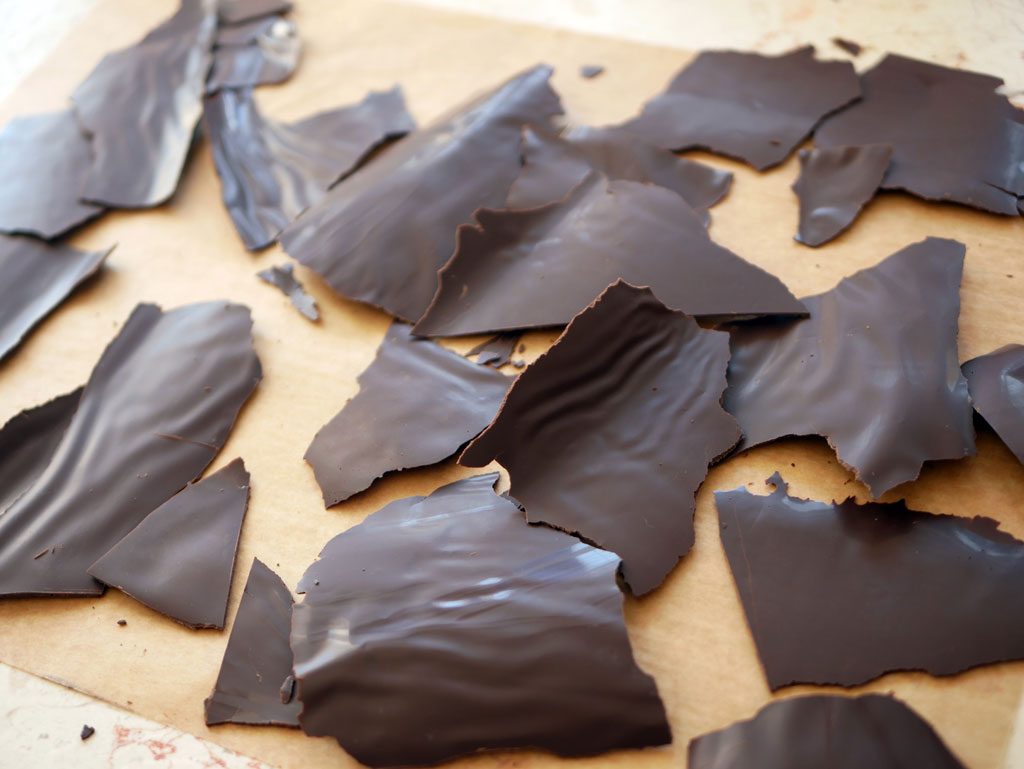
After the chocolate has set, peel the sheets from both sides and break or cut the chocolate to different sizes.
Decorate the cake with chocolate decorations.


10 Comments
Leave a reply:

![]()
Get updates by email
![]()


Hi! Is the mascarpone supposed to be room temperature? And would you say in general most of the products you use like eggs or mascarpone and etc should be necessarily at room temperature?
Hey Nikki.
Well, it kinda depends on the cake and the technique. When you try to mix oil/butter with liquids/eggs, it’s best that they are at room temperature (or at least similar temperature) to better mix together. In this case, it’s not crucial.
The mascarpone here could be cold or room temperature, however, it would mix better with the whipped cream if it has a creamy texture.
Just found your blog and I’m droooling over all your mousse cakes and this one looks amazing, too! All added to my “Must Try” recipe list! Since you’ve made several gianduja-based mousses, can you tell me where you source your hazelnut praline? Also, have you used any pre-made gianduja chocolate (i.e. made by Callebaut or others) to create one of these mousse(s) …(?…what’s the plural of “mousse”?…chuckle, chuckle).
After a pretty stressful time, losing two sisters to incurable diseases in just 18 months, while assisting aging parents with their own health issues, I’m slowly getting back into my long-abandoned baking hobby. It’s very therapeutic and satisfying, so I look forward to attempting some of your creations. I hasten to add that I am blessed with a wonderfully supportive family; we’ve found the best possible situation for our parents just when it was essential. And we’ve had the help of some marvelous pharmacists for many years, like the amazing Sandra, who can read minds and juggle five different tasks without losing her cool!
Hi Teresa,
I’m really sorry to hear about your sisters! That’s terrible. Good to see you’re doing ok. Baking is truly a cure for so many ailments. I hope this one brings you joy.
I don’t have a specific store that I get my hazelnut praline from, I just get it where I find it I guess. I do try to make sure it’s good quality though. Sometimes it turns out too sweet unfortunately, so if I’m not too lazy, I’ll just make my own praline at home. I did try a gianduja chocolate in a mousse once, but I didn’t feel there’s a big difference in the end product.
This is an absolutely wonderful cake and so easy to make. Thanks for a great blog and for all the recipes, they’re much appreciated.
Hi Susan! Thank you for your feedback, it’s much appreciated. I’m really glad you’re enjoying the blog 🙂
PS. It’s so funny you appeared here suddenly. I’m binging lately on Netflix’s “Magic for Human” and my favorite part about the show is “Magic for Susans”! Hehe
OMG!……you are a genius! I cannot get over how delicious this cake taste with that touch of coffee!!!! Thank you so much for being sooo precise with the measurements, it really makes a big difference. Please keep on sharing your amazing recipes.
Yey! I’m so happy to hear you liked it. lately I put coffee in everything, hehe.
Thank you Gabriela, I’ll try my best 🙂
Cake flour of all purpose flour?
Hey Julie,
it’s all purpose flour.