Chocolate Meringue Tartlets
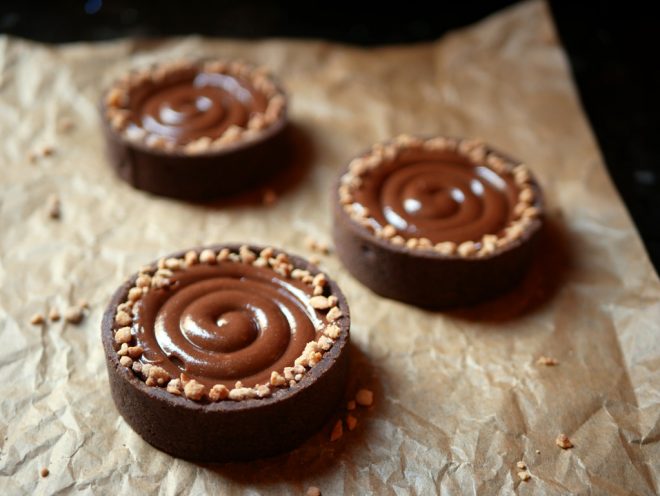
Last year my American friends invited me to their Thanksgiving dinner. I baked these chocolate meringue tartlets for the event, in addition to a pistachio tart I brought as back-up. I’m pretty sure the other guests enjoyed these tartlets, you could see it on their faces. Literally, there were traces of meringue all over their beards and noses!
I’m not yet sure what these tartlets reminds me more of, but it’s definitely a fine version of crembo or s’mores. The combination of shortcrust pastry, chocolate and meringue always wins my heart and appetite. No wonder this is my fourth post featuring this triumphant trio.
In order to enjoy these chocolate meringue tartlets properly, you have to let them sit for a few good hours at room temperature before serving them. This way the ganache softens and every bite becomes soft, crunchy and just perfect.


Ingredients
Crust
175 g flour
20 g almond flour
65 g powdered sugar
2 g salt (½ tsp)
1 tsp vanilla paste
100 g cold butter (cut into cubes)
40 g eggs
Chocolate ganache
200 g dark chocolate
225 g heavy cream
Vanilla meringue
75 g water
200 g sugar
75 g egg whites
1 tsp vanilla paste
Equipment
6 baking rings, size: 4 x 12 cm & height: 2.5 cm
St. Honoré piping tip
Crust
Put flour, almond flour, powdered sugar, salt and butter cubes in the mixer bowl and keep in the fridge for about 10 minutes. Remove from fridge. Using the paddle attachment, start mixing at low-medium speed until the batter reaches sand-like consistency. Make sure the butter chunks are as small as possible at the end of the process without melting the butter.
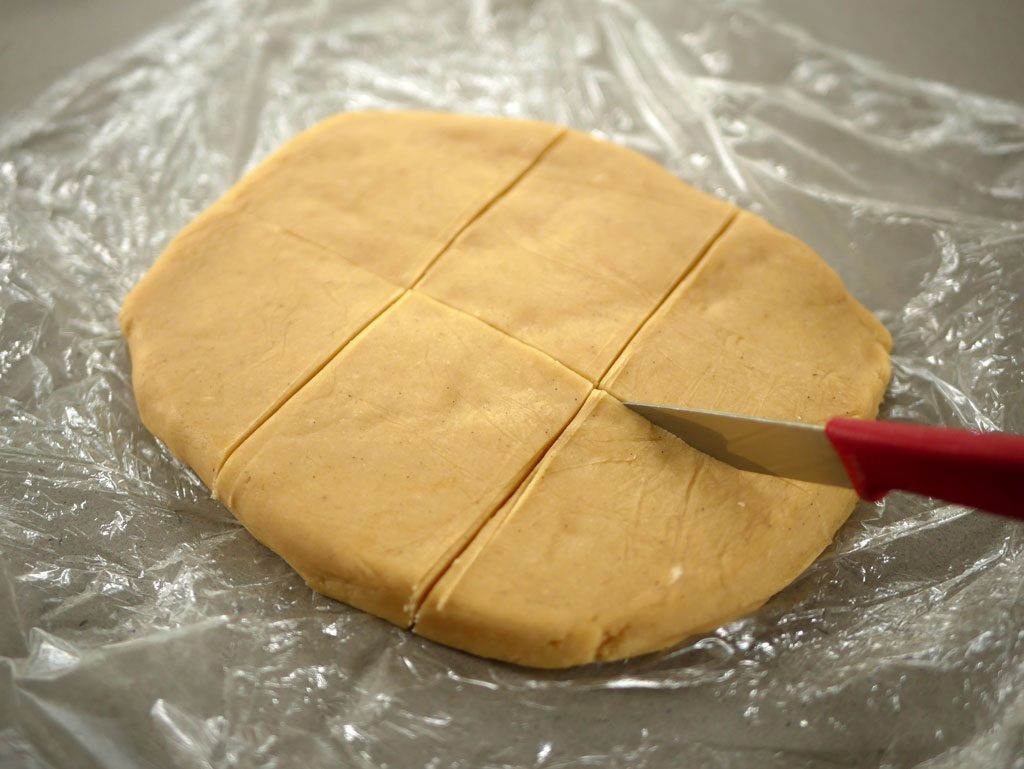
Add vanilla and eggs all at once and keep mixing at medium speed until the dough starts to form but is not yet completely uniform. Remove dough parts from the bowl and combine. Cover dough with plastic wrap. Roll out the dough a little bit, giving it a rectangular shape. Keep in the fridge for at least an hour. (It’s always better to prepare the dough in advance, the dough keeps for up to a week in the fridge and for about two-three months in the freezer.)
When the dough is stiff and cold, remove the plastic wrap and divide the dough into 6 equal-sized pieces. Leave one piece of dough on the counter top and put the rest back in the fridge. In a cool room, flour the work surface, place the dough on top and dust it with flour as well. Roll out the dough with a rolling pin. Keep turning the dough throughout and make sure it doesn’t stick to the surface. Roll out the dough to a 3-4 mm thickness.
Please note (!) If at any point the dough starts to soften, put it back in the fridge until it is stiff again.
Fonçage:
Lightly butter the inner side of the baking ring so that the dough would stick to it. Place the ring gently on top of the dough and cut a larger rectangle around the ring, as seen in the picture above. Place the ring on a parchment paper and place the dough gently on top of it. Lift the edges of the dough, gently push the rest of the dough down and attach the edges to the sides of the ring, starting from the bottom of the ring to the top.
Gently press down on the sides so that the corners at the bottom form a right angle. (It’s not the end of the world if the dough gets torn accidentally. Just attach the sides that have been torn apart and move on). Go over the top of the ring with a sharp knife and remove the excess dough. Put the crust in the freezer and repeat the process with the rest.
Blind baking:
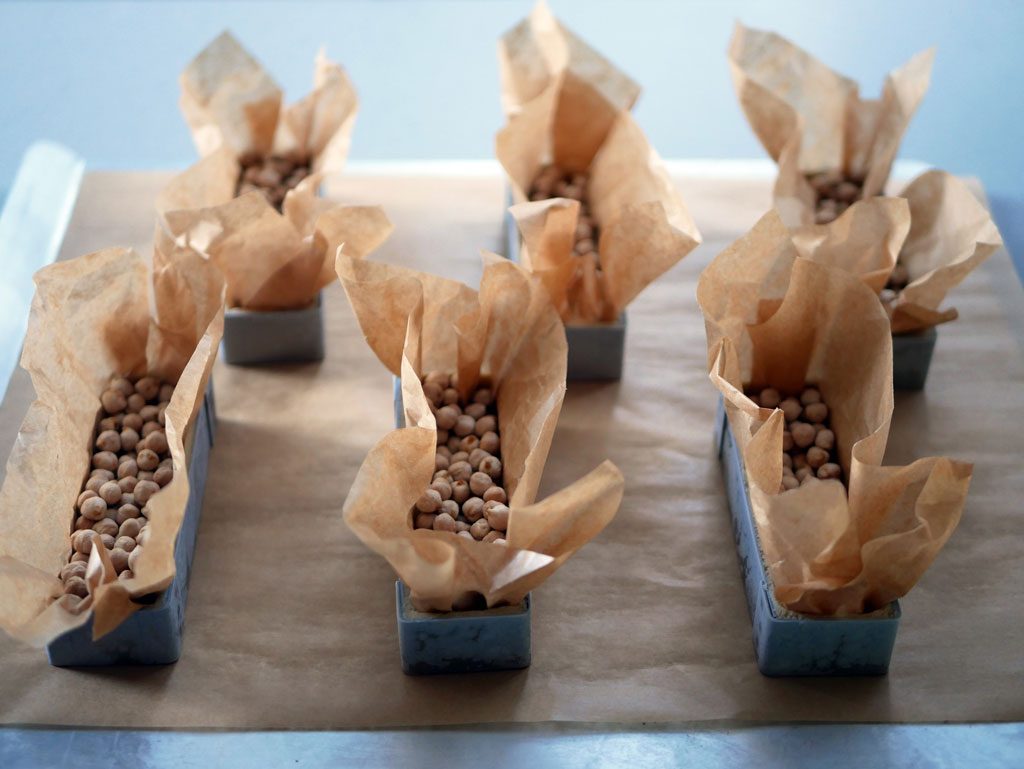
Prick the bottom of each crust all over with a fork and put back in the freezer until the dough is stiff again (about half an hour). Line each crust with parchment paper (the size of about 20×15 cm). Fill the crusts with pie weights or dry chickpeas. Keep in the freezer. Preheat the oven to 170 ºC (340 ºF). When the desired temperature is reached, remove the crusts from the freezer and set it on a baking sheet lined with parchment paper.
Place the baking sheet in the oven and bake for 10 minutes. Remove the baking sheet from the oven and gently remove the parchment papers containing the pie weights (be careful not to break the crust in the process). Put the crusts back in the oven and bake for another 8-10 minutes until the crust begins to brown. Set aside to cool.
Brush the top of each crust against a flat mesh sieve to straighten the edges and give it a cleaner, sharper look.
Dark chocolate ganache
Break the chocolate into small pieces and put them in a measuring pitcher. Bring the heavy cream to a boil and pour over chocolate, making sure all the chocolate is covered. Mix a little bit with a spatula and then use a hand blender to blend it to a uniform consistency.
Pour the ganache into each crust almost to the edge. Let the ganache set in room temperature (or in the fridge if you want to speed it up).
Vanilla meringue
Put water and then sugar in a saucepan. Place on medium heat. Stir the sugar with a spatula to dissolve it. Once the water starts to boil, stop stirring and remove the spatula. Let the syrup boil and check with a thermometer that the temperature does not exceed 115°C (240°F).
While it’s boiling, whisk the egg whites in a mixer on medium speed. When the syrup reaches 105°C (220°F), increase the speed of the mixer so the egg whites get to soft peaks (white foam consistency).
As soon as the syrup reaches 115°C (240°F), turn off the stove, reduce the mixer speed to medium, and slowly pour the syrup into the mixer. Increase the mixer speed to high and continue to whisk for about 10 minutes, until the meringue cools. Towards the end, add vanilla and keep whisking.
Fit a pastry bag with a St. Honoré piping tip and fill it with the meringue. Pipe along each tartlet in a zigzag form. Keep in the fridge for up to two days. Allow the chocolate meringue tartlets to sit at room temperature for an hour or two before serving.

Tags In
Related Posts
2 Comments
Leave a reply:Cancel reply

Search the blog
![]()
Get updates by email

![]()


Do you torch the meringue or leave it as a marshmallow fluff?
Hi Kris,
both ways work. I would torch it up cause it’s a bit more fun. If you do, torch it just before serving.