
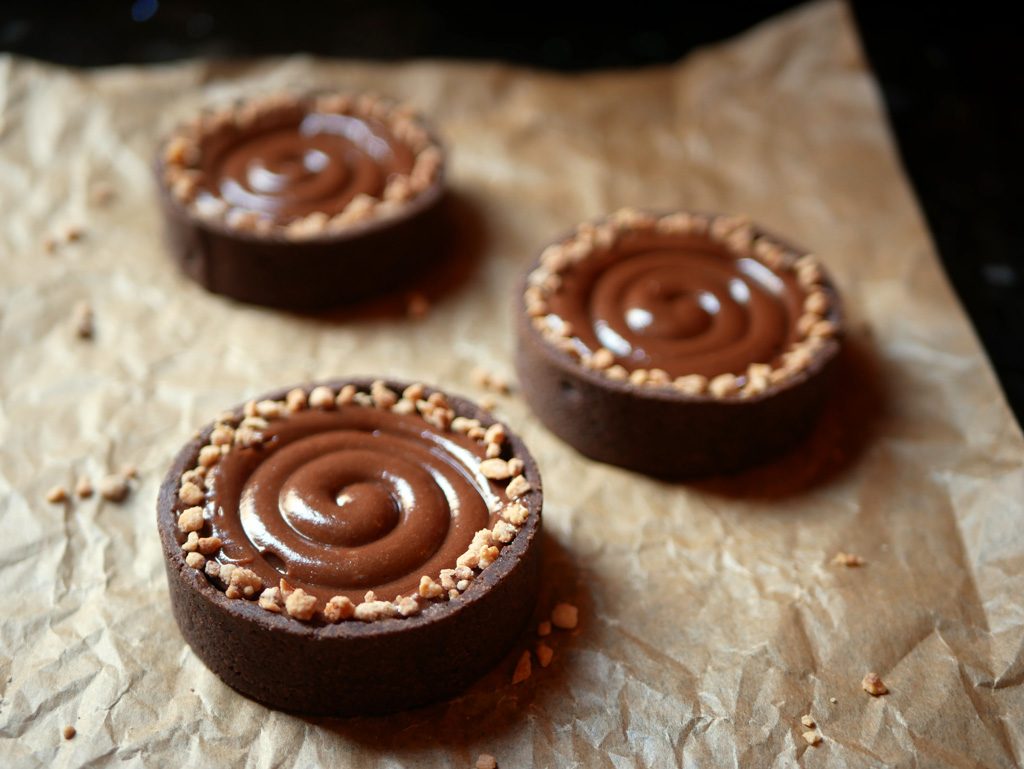
Hazelnut Tartlets (from homemade Nutella)
I really wanted the headline to be Hashahar Tartlet. Hashahar is a classic local cocoa spread. I tried to make a tartlet version of Hashahar, but unfortunately it came out terribly sweet. Then I thought to maybe change it to Nutella tartlet, but it felt a little too branded. At the end, I decided to go for a tartlet with hazelnut cream (homemade Nutella) mixed with mascarpone cheese. It came out wonderfully and very nutty.
Those who are familiar with Hashahar spread might be reading this with a smirk on their face. First of all, that’s not nice. Second, it’s the spread I grew up with. I’m not sure we even had Nutella back then. And even if we did, I would still choose Hashahar. Hashahar in a pita, Hashahar in hamentaschen cookies or even Hashahar on a damp matzah. It’s my guilty pleasure. I can truly relate to those thieves who stole 100 tons of Hashahar spread from the production plant about 10 years ago. It’s so addictive!
In any case, this post is not about Hashahar. Nutella and mascarpone go better together. You can mix 250 g of Nutella with 165 g of mascarpone and be done with the filling. But I strongly recommend preparing the homemade Nutella. It’s a simple recipe to follow and the combination with mascarpone refines the texture and brings out the nutty taste of the cream.


Ingredients
Cacao crust
175 g flour
25 g almond powder
75 g powdered sugar
15 g cocoa powder
2 g salt (½ tsp)
115 g cold butter (cut into cubes)
55 g eggs
Hazelnut filling
70 g peeled hazelnuts
40 g light brown sugar
100 g heavy cream
60 g milk chocolate
15 g honey
5 g cocoa powder
165 g mascarpone cheese
Pinch of salt
Decoration
Chopped hazelnuts (even better if caramelized)
Equipment
6 round rings, 8 cm diameter & 2.5 cm height
Cacao crust
Put flour, almond powder, powdered sugar, cocoa powder, salt and butter cubes in the mixer bowl and keep in the fridge for about 10 minutes. Remove from fridge. Using the paddle attachment, start mixing at low-medium speed until the batter reaches sand-like consistency. Make sure the butter chunks are as small as possible at the end of the process without melting the butter.
Add the eggs all at once and keep mixing at medium speed until the dough starts to form but is not yet completely uniform. Remove dough parts from the bowl and combine. Cover dough with plastic wrap. Roll out the dough a little bit, giving it a rectangular shape. Keep in the fridge for at least an hour. (It’s always better to prepare the dough in advance, the dough keeps for up to a week in the fridge and for about two-three months in the freezer.)
When the dough is stiff and cold, remove the plastic wrap and divide the dough into 6 equal-sized pieces. Leave one piece of dough on the counter top and put the rest back in the fridge. In a cool room, flour the work surface, place the dough on top and dust it with flour as well. Roll out the dough with a rolling pin. Keep turning the dough throughout and make sure it doesn’t stick to the surface. Roll out the dough to a 3-4 mm thickness.
Please note (!) If at any point the dough starts to soften, put it back in the fridge until it is stiff again.
Fonçage:
Lightly butter the inner side of each baking ring so that the dough sticks to it. Place the ring gently on top of the dough and cut a larger circle around the ring. Place the ring on a parchment paper and place the dough gently on top of it. Lift the edges of the dough, gently push the rest of the dough down and attach the edges to the sides of the ring, starting from the bottom of the ring to the top.
Gently press down on the sides so that the corners at the bottom form a right angle. (It’s not the end of the world if the dough gets torn accidentally. Just attach the sides that have been torn apart and move on). Go over the top of the ring with a sharp knife and remove the excess dough. Put the tartlet in the freezer and repeat the process with the rest of the rings.
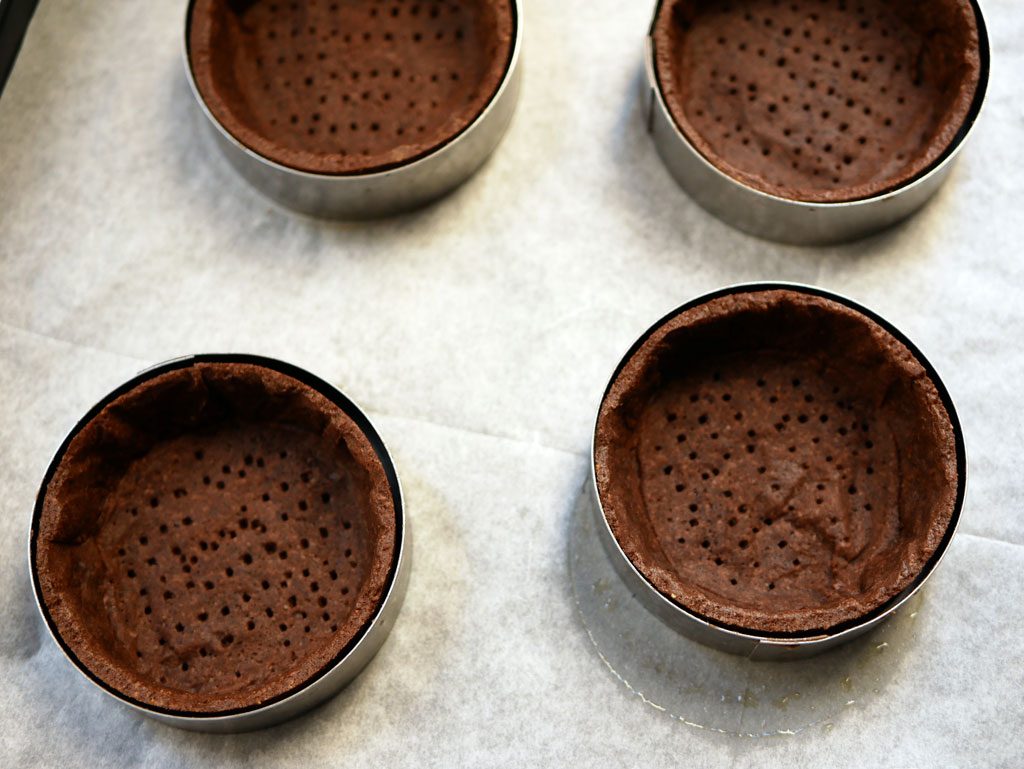
Blind baking:
Prick the bottom of each crust all over with a fork and put it back in the freezer until the dough is stiff again (about half an hour). Cut parchment paper into 6 pieces, 13 x 13 cm each (approximately). Line the crusts with the pieces of parchment. Fill the crusts with pie weights or dry chickpeas. Keep in the freezer. Preheat the oven to 175 ºC (350 ºF). When the desired temperature is reached, remove the crusts from the freezer and set them on a baking sheet lined with parchment paper.
Place the sheet in the oven and bake for 10 minutes. Remove the baking sheet from the oven and gently remove the parchment paper containing the pie weights (be careful not to break the crust in the process). Put the crusts back in the oven and bake for another 8-10 minutes until the crust begins to brown. Set aside to cool.
Brush the top of each crust against a flat mesh sieve to straighten the edges and give it a cleaner, sharper look.
Hazelnut filling
Put hazelnuts and sugar in a food processor (preferably a small processor for better grinding) and grind for a few minutes. Scrape the sides occasionally and keep grinding until you get to a wet sand consistency. Transfer the mixture into a measuring pitcher.
Add chocolate, honey and cocoa powder. Bring heavy cream to a boil and then pour it into the pitcher as well. Let it stand for half a minute. Mix a little bit with a spatula and then use a hand blender to blend it to a uniform consistency.
From here, you’ve got two options. You can let the mixture set at room temperature for a few hours. This way the consistency of the mixture will be closer to the consistency of the mascarpone cheese. It’s much easier to combine similar textures together.
The piping of the final mixture will also be more stable. Or, you can just go ahead and mix them well together as is: transfer the mixture to the mixer bowl and add mascarpone cheese and salt. Using the paddle attachment, mix well until uniform. Occasionally, smush any lumps of mascarpone using a spatula.
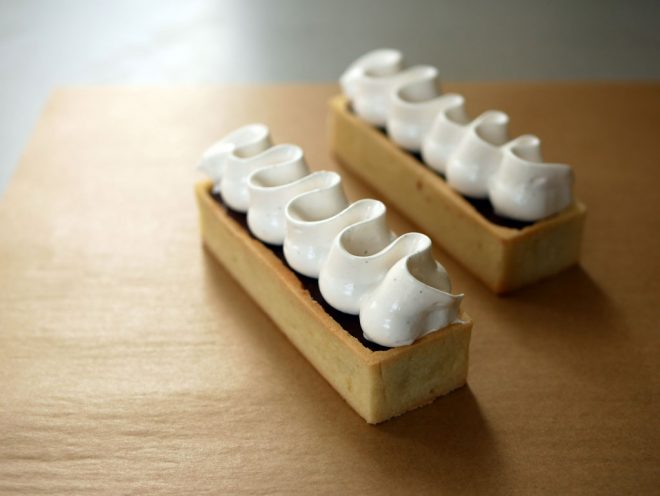
Fit a pastry bag with a 1 cm smooth tip and fill it with the cream. Pipe two layers of spirals inside each crust. You may also fill the crust with a spoon instead of piping.
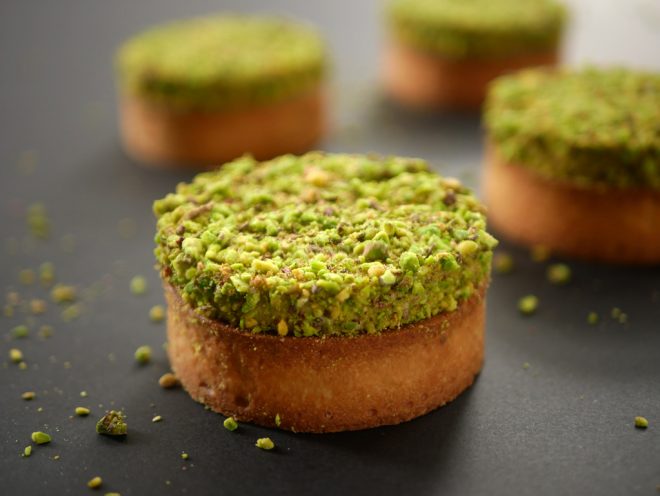
Sprinkle chopped hazelnuts on top of each tartlet. Keep in the fridge for a few hours to let it set. Store in the fridge in an airtight container for about 3-4 days.


Leave a reply:

![]()
Get updates by email
![]()


